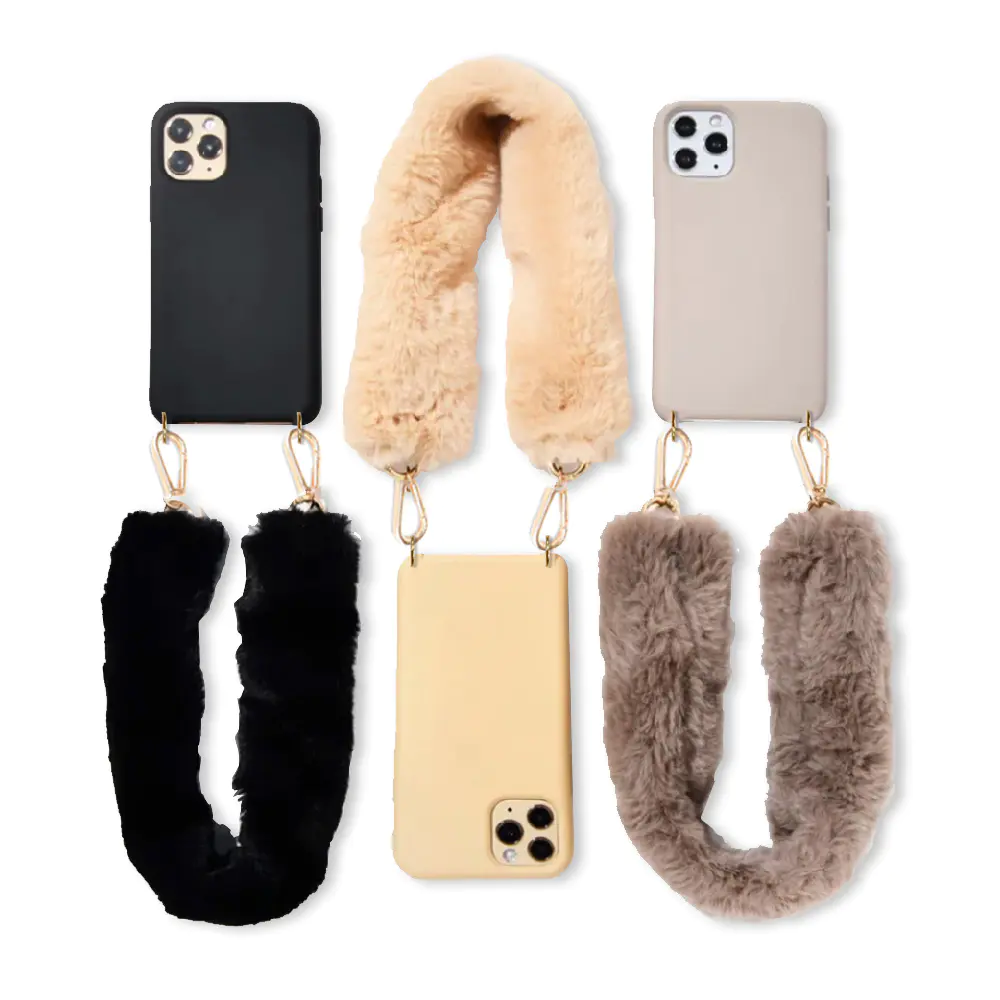
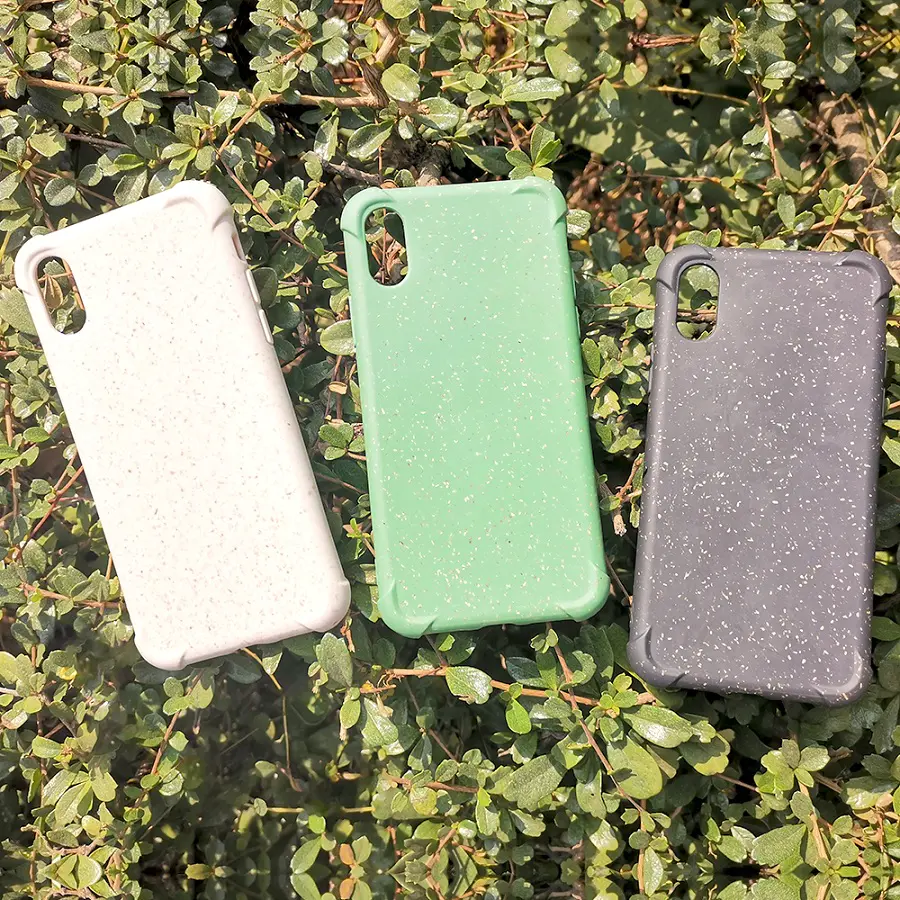
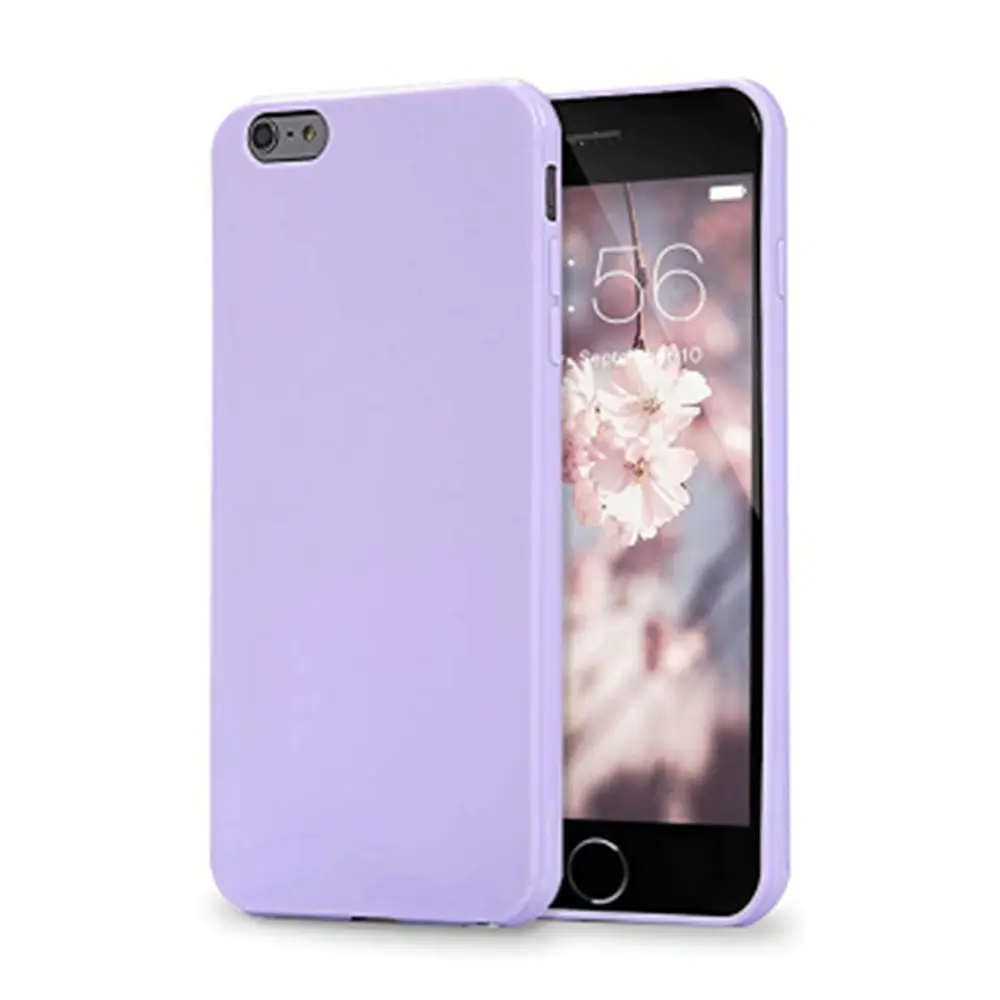
Hello everyone! After leaving for a long time, I finally got back to my favorite way -- At the scene, instructures! With the arrival of winter vacation, everyone (including me) Kind of \"I don\'t care about anything anymore, I just want to do what I want to do\" attitude. Personally, I\'m happy to go back to the realm of making things, playing video games and watching random YouTube videos for hours in a row. One thing I\'m not excited about is breaking another smartphone screen. I often put my phone down, which is more of a problem than it was five years ago. When the flip phone is popular, it\'s not a big deal to throw the phone; Falling from shoulder height will not cause significant damage. However, now that smartphones have surpassed flip phones, the danger of this decline should be realized. The touch screen of the smartphone is easy to break and I have to do a repair ( This requires money if you don\'t know: P) Fix the broken screen in the past. Now, I am determined to keep the integrity of my latest, unscathed smartphone by any means necessary (jk). But anyway, this will be my first project in a long time; It\'s kind of like my \"re-introduction\" to 3D printing/CAD and instructures, and it\'s also a comprehensive guide to all those who want to learn some basic CAD or protect their phones (or both). So let\'s get started. Note: I don\'t know how to save the title/comments to the pictures in this new editor, I can type them but they don\'t save. . . So all I need to do is enter an explanation for the picture outside. This may confuse you even more, but this new editor is confusing. . . . sorry. So. . . Image 1: This is one of the flip phones I have used in the past 2 years or so. In addition to small cracks and slight signs of wear and tear, although I have put my phone down many times, the phone still works fine. Figure 2: One of my smartphones. . . This lasted me for two months and the part of the screen started to black due to a large amount of water droplets damaged LEDs; But before that, the screen had cracked. Figure 3: My latest smartphone. It has (surprisingly) In addition to the wear that is barely visible on the front, it has not been damaged too badly. I hope to keep this going. The materials and tools used to create custom 3D printed phone cases are actually not expensive and not difficult to obtain, and the most expensive ones may be the 3D printer or the phone itself, depending on what phone or printer you have. Everything else is available from the local store, although you may already have most of it at home. Materials needed: tools needed: Now is the time for you to make your choice. . . Decide the fate of your mobile phone. Do you want a box that closes the phone from the side? Or pieced together around your phone like a jigsaw puzzle? Maybe half of a top and half of the bottom shoot together? No matter what your design is, there are two things to remember. First of all, you need to remember that the plastic used in 3D printing is solid (not flexible) So you can\'t do a full case because that way you can\'t put your phone in there. Instead, you need to print multiple parts that can be placed around your phone. The first idea I came up with to make the box was actually just a piece of plastic that could be placed around the phone. At the time I was thinking about a commercial case, which is usually made of rubber material and can be stretched on the phone. The second thing to consider is to remove the housing if necessary. You may want to take the case off at some point in the future, so it\'s a good idea to have your design with a removable half/part. For my design, I chose a two-and-a-half design. Half of it wraps the phone around all sides except the back, where it will stand out a bit; The projection allows the other half to be stuck in place like a plug. My original design was a friction fit design with pins and holes, two of which pushed together from the side, but then I did some research and found the site. It gives me the idea of using a snapshot to fit the design, which is very similar to the design in the picture, but there are 4 join points instead of 2. This is probably the most important step in making a case specifically for your phone: making very precise measurements of the phone. There are many important things to pay attention to when measuring and recording dimensions. First of all, you need to decide the thickness of the box (I chose 0. 1 in. ). Then measure the distance of everything relative to the edge of the phone and other parts. This should be recorded as you need to know where the opening of the headphone output, charging port, buttons, etc can be drawn. Modeling Software in 3D. I personally took two very specific pages of notes; Although they are very confusing and most people don\'t understand it, it should be fine as long as you can understand your own notes. Also, it\'s time to find the radius of rounded corners ( Unless you have a sharp corner on your phone. O)of your phone. To do this, you must first find the perimeter of the phone. Take the flat rope and tie it somewhere on the edge of the phone. Then, tightly \"wrap\" the rope around the edge of the phone and press and hold it with tape if necessary. Cut the Rope when you return to the starting point. Now measure the string and the length will be your perimeter. Now that you have the perimeter, you have to find the length of the Edge ( Length and width) Just before the corner of the phone (see picture). Measure the edges of green and pink and add the length. In my case, my side length is about 4. 060 and 2. In 030, so I did 4. 060 + 4. 060 + 2. 030 + 2. 030 = 12. 18. You may have noticed that if you put 4 Corners ( Highlight yellow) Put them together and you get a full circle! This is very useful because now you can use the equation and other methods may create a slightly larger/loose case. Go back to the drawing anyway. Now you need to apply the fillet radius to the corner of the rectangular box you made. Because I have a 0. I\'m using a 337 radius. After that, you can use your amazing CAD skills to draw the rest of your phone case, but remember that the shape you just added the rounded radius is internal; You need to add the shell thickness of your choice to the outside of it. Figure 1: The outline of the interior before adding the fillet. Figure 2: the same size and all dimensions as Figure 1, but the same as 0. The rounded radius added to the corner is 337. Picture 3: finished the top half of my case and you can see the slots and holes on the side, where the buttons and things come out. Image 4: finished the lower half of my case, you can see the cut of the camera and the 4 \"tongues\" that lock in place when pressing the upper half \". Figure 5: The camera position is displayed on the back of the phone. You can now export the model to stl. File and 3D printing! You may have some problems after you print it out, the decoration part is because you are too small ( Accidental or intentional) Or the printer was wrong. Anyway, sandpaper came in from here! If the case is designed too big, then you can learn from the mistakes and recreate the model. Everything was fine for me except the headphone cable hole was a bit small so I expanded it a little with a drill bit. I already include stl if you want to see my model. If you want to download the file here, maybe you have the same phone number as me. I thank my school again for letting me use their 3D printer. . . And their green silk! I like the color :) Figure 1: The upper half of the printed box and the other half have hooks. Figure 2: The lower half is much simpler than the upper half. Figure 3: The mobile phone attached to the box, top view. Figure 4: Just in case on the back of the mobile phone; The camera can be seen through the opening. Now that you have set up the basic phone case, why not improve it? You can add different shapes, textures, patterns. . . Unlimited possibilities! (kinda) You can make a case for a Pikachu, although it may not be a good idea because you will be poked on your legs with those solids (and pointy)ears. Although 3D printing has not been possible in multiple colors so far, you can still draw the shell after printing. I would also like to mention a mistake I made on my phone case; The Shell itself is a bit too thick! I chose a 0. 1 inch thick box, one of the problems I have is pressing the button through the box because the box itself is higher than the button. Luckily, my nails are long, but for those who don\'t have long nails, I don\'t recommend making boxes that are thicker than 0. 075 in. But no matter what you want to do, it\'s all up to you. . . so be creative! If you have any questions, you can also ask them in the comments. Figure 1: Pikachu! Picture 2: Coffee phone case :) Figure 3: Bieber case. . ewwwwP. S: I dropped my phone twice in the process of making this case. I dropped it once while measuring it and again after I opened the case.
Hello! please contact us by mail tc@sztenchen.com or whatsapp +8613823763835 if we are not here, thanks Hello! please contact us by mail tc@sztenchen.com or whatsapp +8613823763835 if we are not here, thanks
hello! this is Tenchen company, welcome leave your message, we will contact you soon