In this Instructure, I will show you how to use a craft called \"wet forming\" to create a simple, stylish and sturdy leather case for your phone. This is an amazing technology that can produce beautiful leather products and is very simple, even those who have never done leather work before can do it with excellent results! This project will take only one weekend to complete and will require standard wooden working tools and some easy to find leatherworking tools. Throughout the teaching process, I will guide you through the process of creating your own leather phone case step by step, and also provide tips and resources to help you get the best work done. Enjoy! Inspired by one of the first instructures I \'ve read, this Instructure, \"leather iPod Touch Case using water! \" by gmjhowe. Instructable has a wealth of knowledge and is very well written with great pictures and various leather processing skills. When I designed my leather phone case and this instruction manual, I quoted the item from gmjhowe, but I chose the technique of using the mold wet forming leather, because I think it may produce more consistent results, and it allows you to make multiple cases very quickly. When you read this manual, be sure to refer to his work because I think his ideas and techniques are very in line with what I wrote. If you like this note, please consider voting in \"phone\" and \"mix 2. 0\" Contests! There is not a lot of material required for this project, but you need some tools, especially some standard woodworking tools such as routers and saws. You also need some leather work tools like bevelers and slickers, but don\'t be afraid if you don\'t have them, I provide a few links to instructures below, in which, you can learn how to make them yourself ,( I also include the link to Amazon if you want to buy it. )Leather - I used 6 ounces of plant tanning leather in this project, which is a leather tour of every project I do. Finding a source of leather can be tricky, retailers like Tandy Leather can be a good resource for small items like this, but also check the saddle shop or custom leather shop in your area as you sometimes get pieces or seconds with little or nothing. E6000 Glue- There is glue specifically for leather processing, but I found that the E6000 did a great job of gluing the leather together, the good thing is that you can buy at many craft shops and home improvement shops for sale at half the price of commercial leather glue. The E6000 is a flexible adhesive that means it will help your phone case last longer with leather bending and bending. Leather finish Although I have been involved in leather work for a while, I still think I am a little beginner in leather finishes etc. For this project, I seal and protect the leather with olive oil, and if you study sealing and finishing the leather with oil, you will find that some people swear on it, others think this is the worst idea since the 1 W bulb. Personally I like the oil finishes on the leather and I think they are easy to apply, look good and keep up easily because if your finish starts to wear out, all you have to do is wipe more oil. * Update: After posting some great posts in the comments, I learned that oils like Neatsfoot oils are a better option when they are painted in leather because they don\'t look like olive oil or Dragon glue- This substance is used for smooth and sealed leather edges. It is said that you can replace this with water or even saliva, but you will not get results at the same professional level. A bottle of this will cost you about $10 and will last for a few years, and if you plan on doing any leather processing I would suggest you bite the bullet but a bottle. Phone - You need the phone you are making so you can track it and make a wooden analog for wet leather. I used the Samsung Galaxy s5 in this project. Table Saw - It takes a little bit of wood to build this project because you have to make a wooden replica of your mobile phone and a wooden frame to press the leather on the replica. You need some way to cut the wood, the table saw is the tool of my choice, but the band saw, the clamp saw, the round saw, and even the hand saw can achieve an acceptable effect. Pocket hole clamp for drill and BitsKreg- This is a great gadget! I used it to assemble the frame used to stretch the leather on the wooden phone copy. The Kreg screw pulls the wood tightly together, allowing you to adjust the frame to the exact size you need. Routerig sawclampsuity/craft KnifeEdge edge grinder and edge smoothing- These are two tools for edge polishing of leather ,( Think about the leather items you have, have you noticed the shiny polished edges? These are tools to achieve this goal. ) Beveler bypassed the straight edge left by the cutting leather, and slicker worked down the cutting fibers on the edge of the leather, polishing them together into a smooth surface. Note that slicker is used with the gum ear screen, which helps the leather fibers to bond together, making it easier to form a polished surface. The first thing you want to do for this project is to do a simulation (replica) Your cell phone on the wood The reason for this should be obvious, you will do a lot of drilling, sawing, clamping, cutting and a bunch of other fairly disruptive tasks, if you have something that you can use to represent the size of your phone, in the case of a telephone disaster, this may save you a lot of money. Make the wooden replica start with Wood as close as possible to the thickness of the phone. If you have access to the planing bed then this is easy to do as you can gouge your wood to the exact thickness you need. If you don\'t have a planing machine, choose the closest size you can find for my Samsung Galaxy 5, which means 1/4 plywood. Next, use your table saw to tear the wood to the same height and width as your phone. Professional tip: If you set the size to large or small, your shell will not be able to be installed properly, please make sure you are as close as possible to these dimensions ( Either it\'s not tight enough to fit your phone comfortably or it\'s too tight to fit your phone. ) With the completion of the mobile phone simulation function, the next step is to make a wooden frame for wrapping the leather around the simulation function to form the shape of the shell. The width and height of this frame will be slightly larger to accommodate the thickness of the leather as it is formed around the analog. The 6 oz leather I used was about 2mm thick, so I added 2mm to the top/bottom and side dimensions of the phone analog measurement to determine the internal dimensions of the frame. Once I measured it, actually making the frame is a two-step process. First of all, I use pine and the scrap length of my Kreg fixture and Kreg pocket hole screws to create the main version of the frame. Next, I use this version as a template and cut the final frame using the router and traffic trim bits. Here is the step-by-step process: the reason for making the second frame instead of just using the first version screwed together is mainly the rounded corners left after wiring the second frame. When clamping wet leather, rounded corners produce a better final result than the square corners of the original frame. With the simulation and the frame ready, the next step is to start the wet forming leather. Cut a piece of leather, about 1 \"per side and bottom than analog leather \". ( Pro tip: use to cross leather multiple times. Trying to break through it at a time can cause your blade or slide to break your cut or worse. ) Put the cut leather into the warm water to take a bath and let it be placed for about 10 minutes, which will ensure that the leather is saturated. While waiting for the leather, you can assemble the clip, frame, simulation board and an extra board of the same size as the frame. Pro tip: I wrap my analog with plastic wrap to prevent wet leather from laminated plywood made of it, which will help my analog last longer and allow me to make multiple When the leather is ready, I take it out of the water, shoot it dry, and then carefully place it on the analog to make sure that the top edge of the leather is aligned with the top of the analog, this will create the opening of the shell. Next, I place the frame on top of the leather, centered around the simulation and gently push down. If your alignment is correct, you should see the leather stretch slightly when forced to place within the frame. When the alignment is correct, use the clamp to apply pressure to keep everything in place by clamping the edge of the frame. Now set aside time for the leather to dry, I put my case on it with a fan for the night and once the leather is dry it keeps it molded into the shape of I. e. The shape of the phone case. When wet leather is caught in the mold, you can decorate the outside of your leather phone case with a stamp. The mold is constructed in such a way that it is convenient to enter the front of the shell, so that you can stamp or make tools on the leather in any way you like. Professional tip: If you want to stamp the pattern on the leather, I would recommend waiting for a few hours until some water in the leather evaporates. Stamps don\'t leave a clear impression if the leather is too wet. Pro tip: I chose to press the larger stamping on the soft surface of the leather using the clamping pressure instead of using the traditional method of stamping with tools and hammers. This technique has produced great results that allow you to add very complex decorations to your leather work with minimal effort. Also, if you can use a 3D printer, you can customize your own stamps to truly personalize your work. For more information about this process, please see my instructions on creating custom 3D leather stamps. Matt2 silverOnce\'s \"How to design, print and print leather stamps using custom 3D printing\" you can cancel once the leather cover is dry Clip it from the mold. Take a moment to appreciate your results, then take another piece of leather and prepare to cut the back of the case. Cutting the back of the box is very simple, I use simulation to get a rough idea of how big the back of the box needs to be, 1/2 more per side \"so I have enough glue and error space. To connect the front of the case to the back, I used the E6000 adhesive. There is a special adhesive for bonding leather, but I found that the E6000 is doing a good job in creating a firm, flexible, and long lasting bonding between the leather ,( In addition, it is cheaper than commercial leather glue and has a wider range of applications. ) I applied the glue to the back of the front of the case and tracked it along the leather-shaped area on the analog. Pro tip: The E6000 may be difficult to control in the original tube. To make it easier to manage, squeeze the amount of glue you think your project needs to the top of the plastic bag, and then seal the bag after as much air as possible. Next, cut the tip of the bag a little with scissors. This actually creates a pastry bag for the glue, allowing you to easily and accurately apply the glue where you need it. Once the glue is in place, put the analog back inside the box and place the back of the box in place. Next, put the leather sleeve assembly you just created back into the mold and re- Clip it like you did when you first molded leather. Clamping the housing in place will ensure that the glue will completely glue the front and back of the housing together. Before the UN, let the glue solidify for about 2 hours Clamp to ensure the best combination. Wait, shouldn\'t you sew too? Good question! Sewing leather is definitely a good way to ensure a firm bond between two pieces of leather. I actually designed and finished the project and was going to sew the sides together, however, when I started to try the E6000 glue and realized the strength it was glued to the leather, I decided to let the glue work together to fix the case together. If you still feel the need to sew your case, you can of course do so, just look at these wonderful guides from Jessyratfink and learn how to sew leather like a professional! How to glue the leather sewn by jessyratfinkHow, prepare the leather sewn by jessyratfinkHow, and sew the leather again with a clip to jessyratfinkOff! This time, when you UN Clip you will have a phone case on the front and back. Removing the simulation from inside the phone case can be a bit difficult at this point, as there is no good way to catch it. To solve this problem, drive a screw part to the top of the analog piece and use it as a knob to pull the analog piece out of the shell. What you need to deal with next is the unfinished edge of your phone case. The trick to trimming the edges is to trim the edges evenly, because the uneven edges will make your end product look unrefined. To make sure that my box edges are trimmed evenly, I measured from the edges that the leather formed on the analog material, creating a 1/4 wide profile that defines the edges of my box. After drawing the outline, I cut off the excess leather with a straight edge and a craft knife. Pro tip: this will be the first time you have to go through two layers of leather and the rules I mentioned in step 5 still apply; Slow down and cross the leather with multiple passes. If you try to break through it at a time, you may slip or your blade will give up and cut something you don\'t want to be cut, like a part of your project or a finger. This is one of the steps to really impact or disrupt the quality of the final project. Finishing the edge of the leather project will make the whole project better, even if it is not a great project, it will really pull everything together if you finish the edge well; ( It\'s a bit like putting a very good cushion on a painting that\'s not so good, and suddenly, the painting looks better just because it\'s properly decorated. Below is a quick step-by-step guide to tidying up the edges of leather phone cases, but I highly recommend that you also check out the awesome instructions created by Jessyratfink about tidying up the edges of leather, \"How to polish the edges of leather \". Every word she said was 100% and she did a great job showing the step by step process: finished the leather EdgesAs I mentioned earlier and I\'m still not as great as I thought so, if you have an end to what you want to try, I suggest you go and have a look and do some research/experiments as you may find something that works very well for you. If that\'s the case, remember to share it in the comments or create an Instructure of your own! I chose simple olive oil for this project. Olive oil protects the leather and also brings a nice dark brown color to the surface, which really makes the print design popular! To apply the oil, I used a cotton ball and rubbed several layers of oil on the leather surface until I reached a uniform finish. Be careful when applying the oil finish as it may apply a lot, which will wet the leather and spoil your project. After painting, I changed a piece of clean cotton cloth, then quickly rubbed the whole case and polished the leather surface, giving the case a high quality finished look. Thank you for taking the time to check out my instructions on the wet molded case. I hope you like the information that is shown inside and it may have triggered an idea or two in your mind. This is really a good choice for the leather processing project as the process is very simple but the result looks very professional. In addition, the technology can go further to create more complex forms, or to create larger items such as satchels, small bags, and even leather armor components, if you like If you have any questions or you would like to share some of your leather work wisdom, feel free to post them in the comments and I will get back to you as soon as possible. Best regards to you, MattIf you like this guide, please consider voting for me for \"phone\" and \"mix 2. 0 \"competition, thank you!
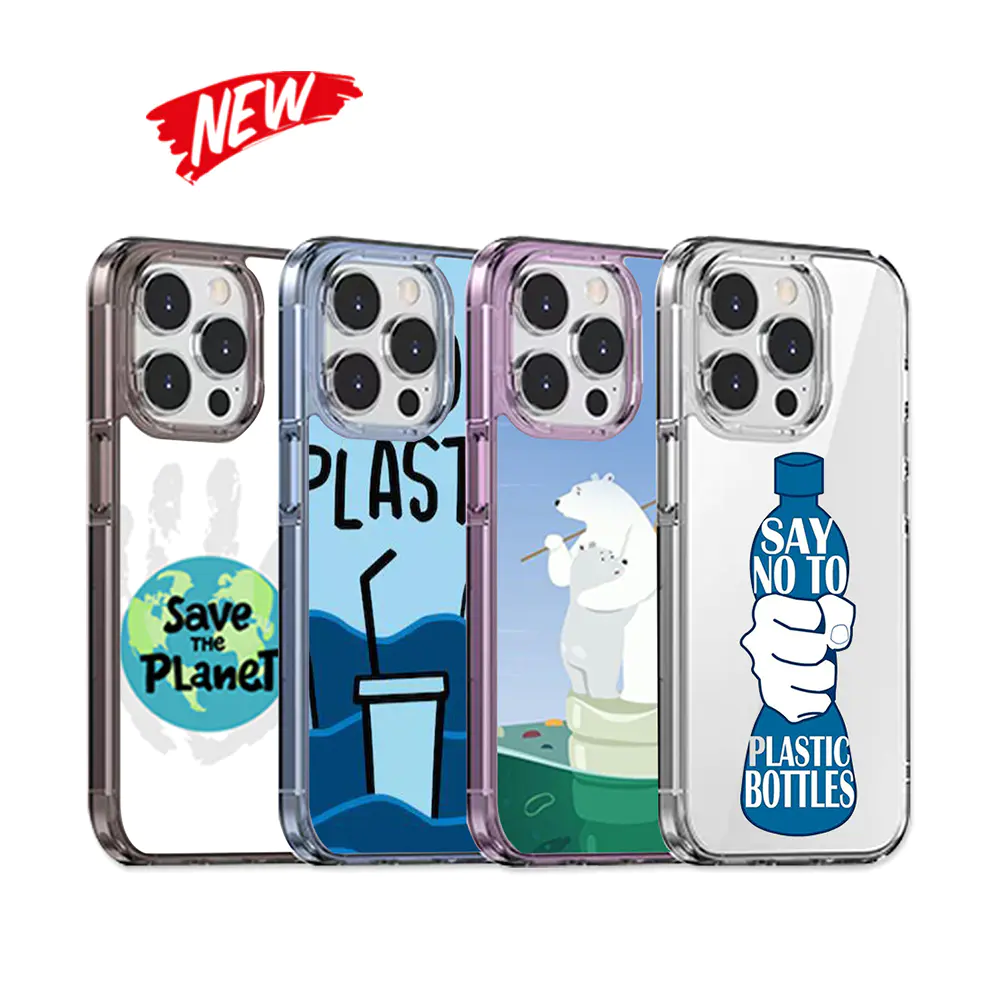
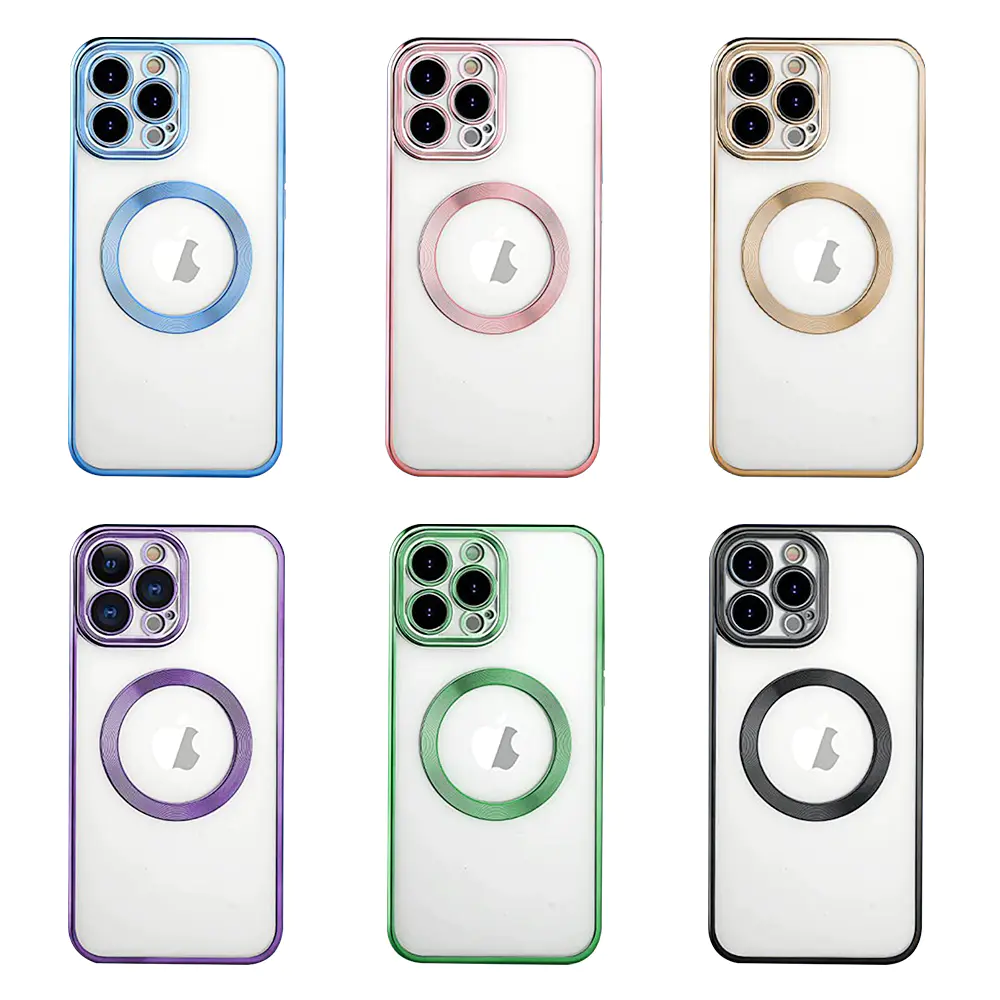
Hello! please contact us by mail tc@sztenchen.com or whatsapp +8613823763835 if we are not here, thanks Hello! please contact us by mail tc@sztenchen.com or whatsapp +8613823763835 if we are not here, thanks
hello! this is Tenchen company, welcome leave your message, we will contact you soon