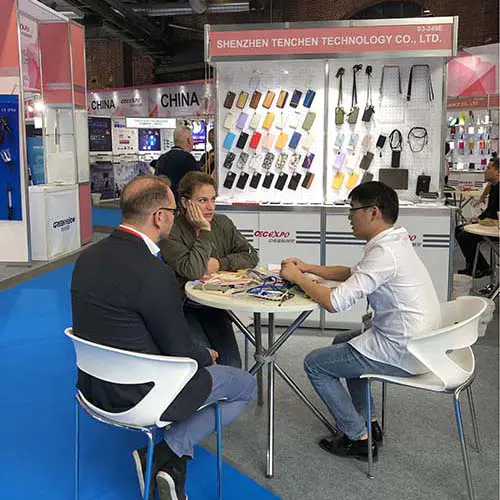
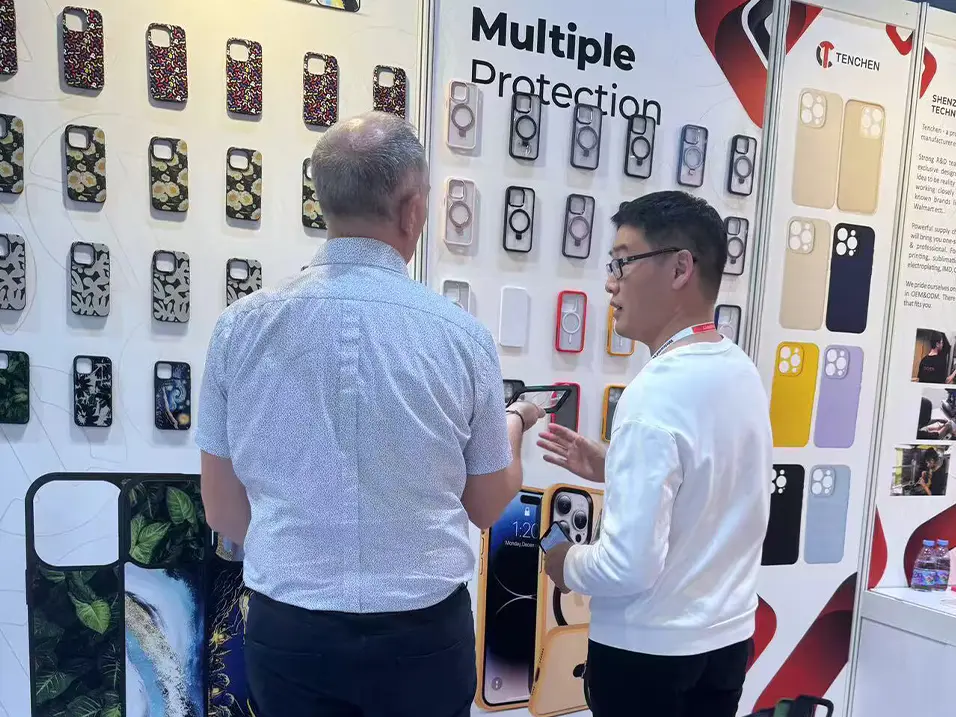
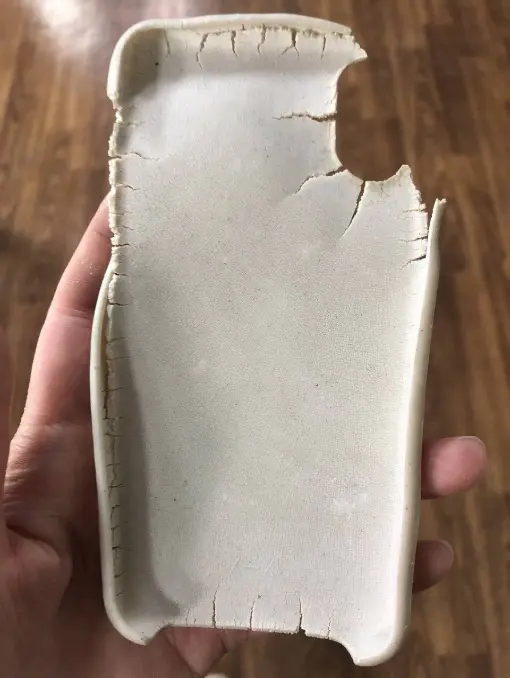
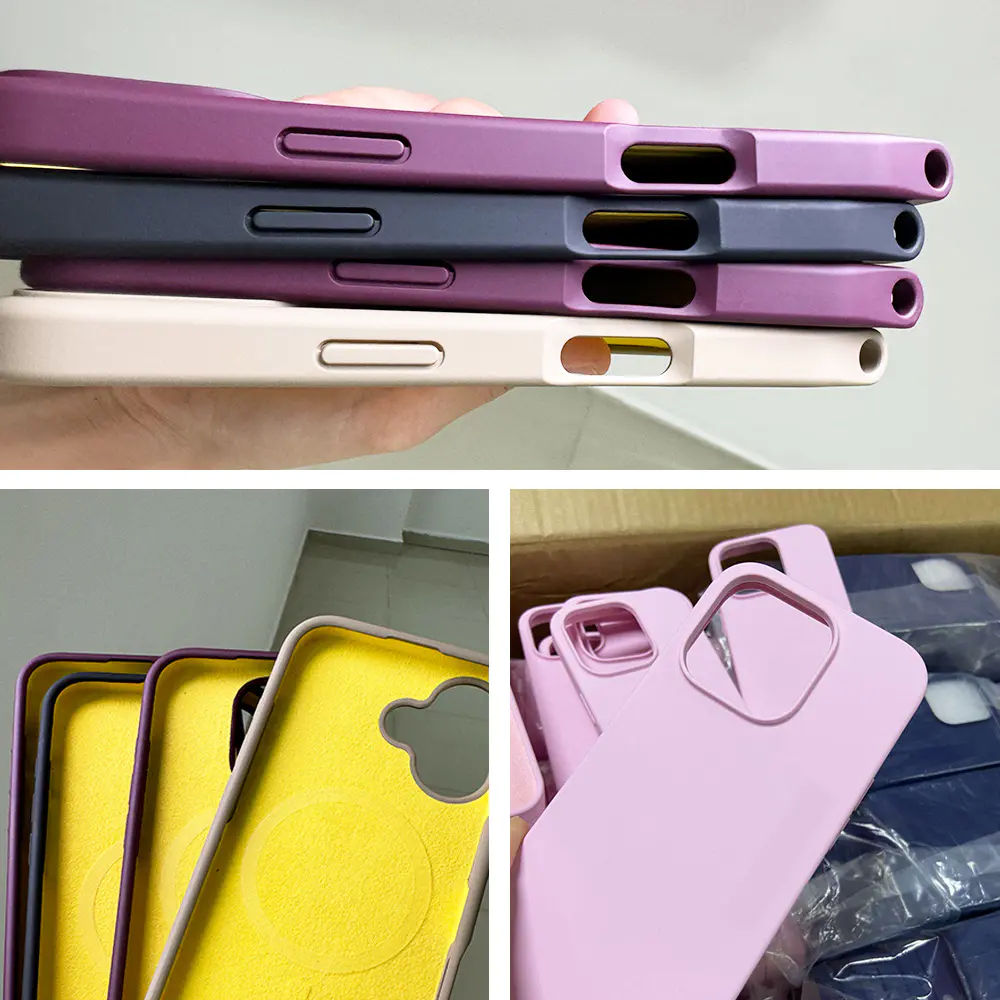
Get the new Environmental protection concept from Tenchen matte biodegradable wheat straw PLA phone case
how to create your own custom 3d printed iphone case
by:TenChen Tech
2020-02-28
The next two steps are optional for those who have more experience with CAD
I have uploaded the template if you are working on creating this case or have no experience.
3ds format imported using Google Sketchup and in. stp (STEP)
At the bottom of this step, use the format imported by other CAD programs such as Autodesk Inventor and Solidworks, make sure to download the file corresponding to your iPhone type.
If you are using Google Sketchup and want to use a template file, go to File> Import> Options> (tick)
\"Merge all-in-one\" and then import the template file. after importing the file, use the \"point\" tool, click on the case, and then go to \"edit\"> \"components\"> \"development\"
It\'s a strange mistake to do this twice)
, This will allow you to edit the case easily.
After importing this file into CAD software, you can jump to step 3.
But hey, where\'s the fun of not trying?
First of all, you must find all the relevant technical drawings of the iphone you want to provide here. Now. . .
Start the Cad package and create a 2d sketch on which to draw a simple rectangle with the exact length and width of the iphone and squeeze it out of the exact depth of the iphone, then add rounded corners with a radius of 8.
5mm 4 edges of the circular rectangular prism and rounded corners with a radius of 1.
As shown in Figure 2, around 59mm at the top and bottom, this is basically a copy of the iPhone.
Shell the solid outward with a thickness of at least 1.
5mm, so it is possible to print by shape and choose to remove the front so that you can access your iPhone\'s screen as shown in figure 3.
The rest is for you to create the necessary cuts
Before you start creating, out will access all buttons and ports by referring to the technical drawings again!
Note that the dimensions on the drawing come from the edge of the iphone, not the outside of the shell created, so create dimensions from the projected geometry inside the shell, or just add the thickness of the shell to the size outside the shell.
Create a sketch on the left side of the shell where the volume button is on the iPhone, and use the technical drawings to create a cut for the volume button and mute switch, as shown in Figure 1.
I suggest taking more material from around the button to make it easier for your finger to touch the button unless you want to chamfer around the button like the Idid in figure 2 to make it easier to access.
The headphone jack socket does the same (
Diameter at least 6mm
Power button, camera gap, dock connector and speaker.
Cut off a lot of material for dock connectors and speakers as this will allow bending to be easily installed on the iPhone as shown in figure 3.
Now, just add any other rounded corners you think are necessary and you can start designing the back of your shell.
The rest is that you design the back of your case;
In the picture above, create a simple 2D sketch on the back of the box and get creative, crop shape, Whirlpool or whatever you like, or use the text tool to squeeze/emboss your name onto the box!
Make sure the thickness is at least 0.
7mm in the thinnest part of your design, allow 3d printing by shape, unless you want to create a cut on the entire depth of the iPhone case.
If you are a newbie, you use Google Sketchup;
Suppose you have imported the template file that has been designed, in order to design the back, simply select a shape tool in the toolbar in the upper left corner and draw the disired shape on the back of the iphone shell (
This may be easier if you look at the case from the top).
After drawing the shape, select the push/pull tool in the toolbar if the shape is closed (
No gap in shape)
, Just click on the shape, pull the shape in one direction or another, pulling it out of the box will cause you to also add material to the box, but consider adding more material, the box will cost more money when you buy it.
Pushing it into the box will allow you to cut off the material from the box.
The material you can choose to add or subtract the desired direction and typing distance through the shape of the pull (1mm)
, Then click enter, which will set the depth of the extrusion or cut out, type 1 if you want to cut out the entire depth of the iPhone case.
5mm after you start to cross the shape through the box and click enter, make sure it has only 1. 5mm deep (
Thickness on the back of the box)
And prevent the production of excess materials.
Also, check this section in the instructions that explain this again (
Ignore steps 1 and 2 on the first guide, obviously).
You can also add text to the design by clicking the 3d text tool in the toolbar on the left, type the text and select the height and depth of the text, click OK \", then place the text on the back of the iPhone case.
Once you\'re happy with the final product, it\'s time to print it out.
Custom message
Related Products