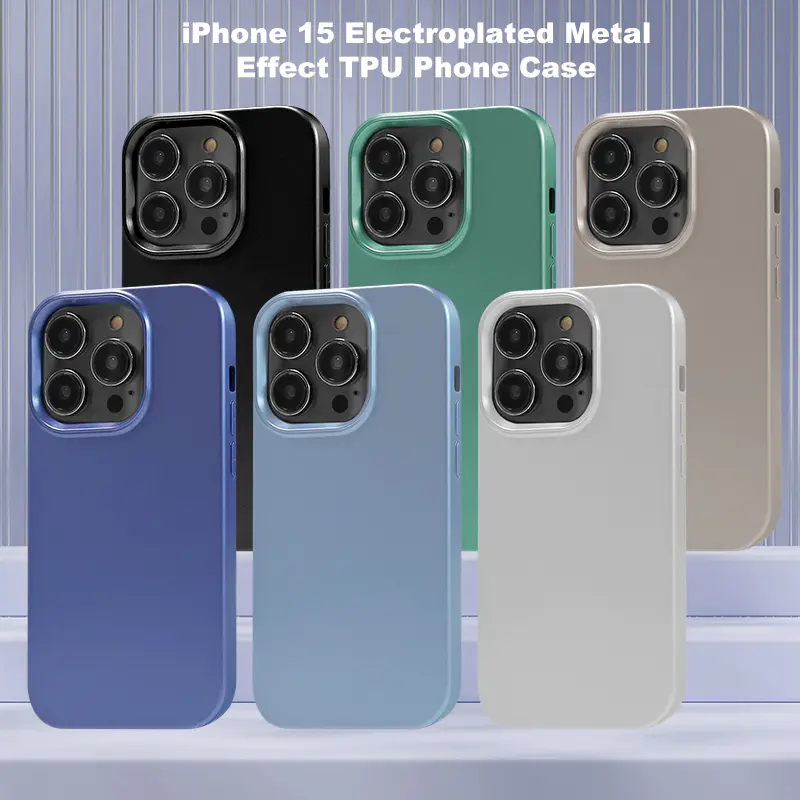
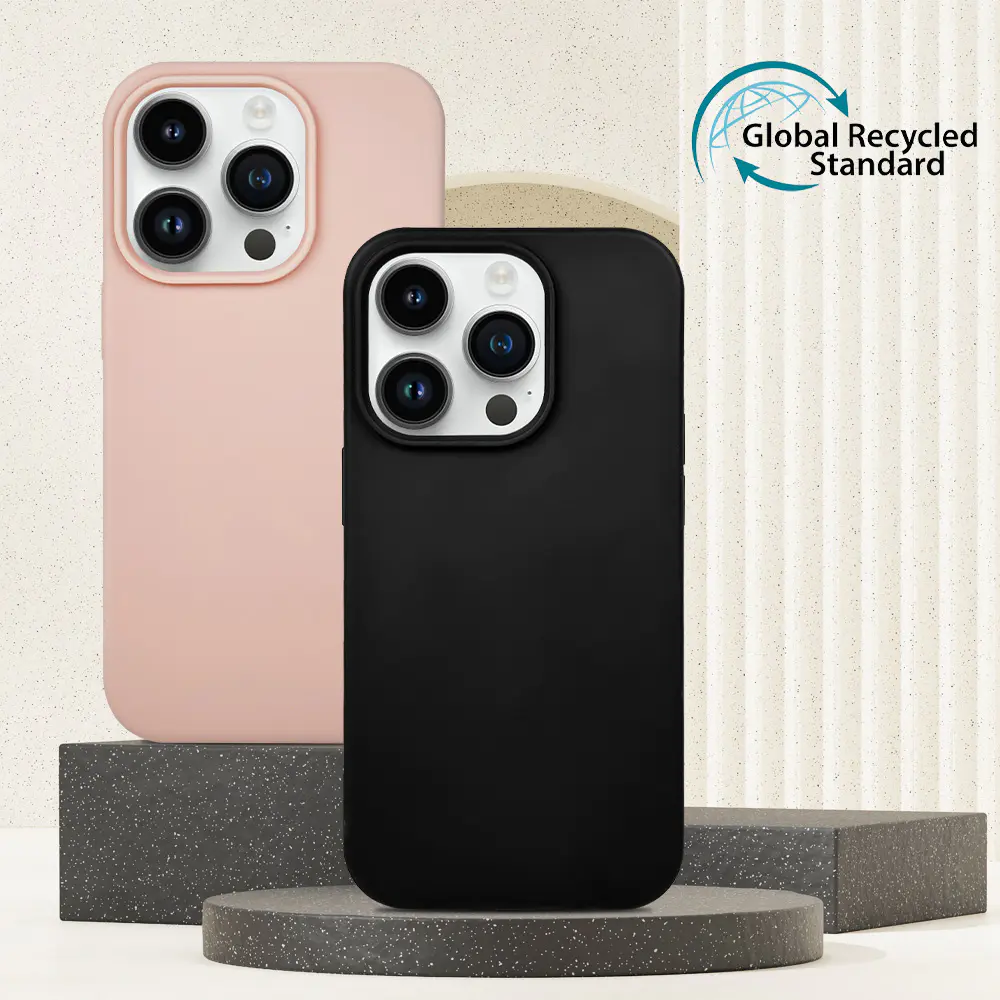
New 100% Biodegradable Environmental Friendly PLA Phone Case
leather phone case
by:TenChen Tech
2019-11-29
What you need: mobile phone caseVegtan leather laser cutting machine, 3D printer that needs leather, or a typical inkjet printerBolts or clampslighting hole piercing and needle, or the size of your own CAD program cut or very sharp knife: The first thing you want to do is get the size of your phone, pay attention to the thickness of the phone, from the screen to the back, the width of the phone, the height of the phone, the radius of the corner of the phone.
The radius of your phone is hard to measure, but it should be nice if you can get a rough value.
Draft your phone case model using your favorite 3D modeling software.
My suggestion for the size is that the width should be twice the width of the phone and twice the thickness of the phone.
25 \"allow stitching. (2W+2T+.
25 \"= total width of box)
The height size should be the height plus of your phone.
25 \"stitches are allowed again. (H+.
25 \"= the overall height of the box)
It\'s also that you should add any necessary holes to the camera on your phone, any flash, if your phone has a flash, a hole in the Speaker, and in some cases a fingerprint scanner.
First of all, you have to decide whether to use a 3D printer, a laser cutter, or just use old-fashioned paper and wood to bring the mold to real life.
Anyway, you need to create a working model in your CAD software.
This model would ideally have enough height and width to allow all four corners to be completed and enough grip on the phone, there are about 1/2 in both directions in each corner \"in order to reduce the waste of leather.
If you\'re going to use wood, just print out this piece of wood, carve a piece of wood that is the same thickness as your phone, and attach it to a wider piece of wood.
If you want to 3D print your mold, you need to generate the third size of the mold and the base attached to the mold.
If you are laser cutting acrylic or other cheap material, you need to layer it on the material to simulate the thickness of the phone.
This is not necessarily accurate, but the closer the better.
Also, if you are going to use a laser, I suggest you engrave where you place it at the bottom of the part to make positioning easier.
For laser cutting and 3d printing, you need to generate a mold part that I call a fixture.
This should have a hole in the middle to let the bottom of the mold push the leather through.
Be sure to leave some gaps for the thickness of the leather.
In addition to this, make sure that the holes are in the same position as the mold base, this part is very simple.
This is where you put all the preparations together.
I chose the laser mold because it is faster and I like to use the laser cutter.
I cut out four copies of my phone profile, connected them with some VHB adhesive, and then attached it to the base of the acrylic resin.
Then I cut the part of the clip.
Finally, I cut out the shell part that I will use as a leather template.
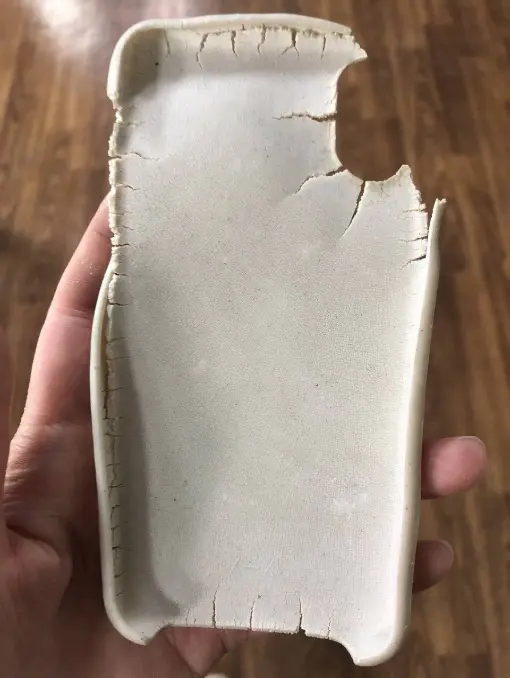
Now that you already have a wet mold, it\'s time to use it.
I recommend some thin leather.
Wet leather, stretch on the base of the mold by hand.
Once you stretch it to the mold, mark the hole on the leather, punch the hole, and then relay the leather to the mold.
Press the clip on the wet leather and tie the base to the clip to dry it.
Using the template, transfer the pattern to the leather using a pencil or stainless steel stylus.
Once you cut the first block, flip the template and repeat the process so you can clip the two together.
At this stage, you should use leather tools if you want to personalize your case.
Put together two sandwiches of leather and glue.
Weigh and allow the adhesive to solidify.
While drying, cut your now dry wet molded leather into four corners.
Once you put these holes in it, prepare to connect to the rest of the box.
Align the phone with the holes of the camera, speakers and any other accessories as a guide to the corner position.
Fix the phone in place, place the corner and start transferring the hole from the corner to the sandwich.
Some phones have either a headphone jack or a front camera, and the microphone may be covered in leather corners.
Now is the best time to make a hole as these start to stitch your case together.
I first sew the four corners on the rest of the box and then continue to stitch the rest of the box.
After completing the stitching, sew two or three holes, then tie a square knot, or burn off the wire and press the molten material into the box with a steel tool like a rivet holder handle.
Don\'t use your hands!
Before stitching, figure out which pattern you will use first.
Since it is the most reliable and reliable method, I use almost only saddle stitching.
The logo of a real craftsman is their attention to detail.
I\'m not that good, but I tried.
Use the rubber ear anth, beeswax, or both to polish the edges around your box.
This will make your case look beautiful.
When the edges are finished, apply any desired dye to your case.
Once these dyes are dry, be sure to apply a protective coating.
I recommend rosorine acrylic or neatsfoot oil if you do not use dye.
Once you \'ve done all the little details, your case is done.
Enjoy your convenient work and the admiration of those who want it too.
The radius of your phone is hard to measure, but it should be nice if you can get a rough value.
Draft your phone case model using your favorite 3D modeling software.
My suggestion for the size is that the width should be twice the width of the phone and twice the thickness of the phone.
25 \"allow stitching. (2W+2T+.
25 \"= total width of box)
The height size should be the height plus of your phone.
25 \"stitches are allowed again. (H+.
25 \"= the overall height of the box)
It\'s also that you should add any necessary holes to the camera on your phone, any flash, if your phone has a flash, a hole in the Speaker, and in some cases a fingerprint scanner.
First of all, you have to decide whether to use a 3D printer, a laser cutter, or just use old-fashioned paper and wood to bring the mold to real life.
Anyway, you need to create a working model in your CAD software.
This model would ideally have enough height and width to allow all four corners to be completed and enough grip on the phone, there are about 1/2 in both directions in each corner \"in order to reduce the waste of leather.
If you\'re going to use wood, just print out this piece of wood, carve a piece of wood that is the same thickness as your phone, and attach it to a wider piece of wood.
If you want to 3D print your mold, you need to generate the third size of the mold and the base attached to the mold.
If you are laser cutting acrylic or other cheap material, you need to layer it on the material to simulate the thickness of the phone.
This is not necessarily accurate, but the closer the better.
Also, if you are going to use a laser, I suggest you engrave where you place it at the bottom of the part to make positioning easier.
For laser cutting and 3d printing, you need to generate a mold part that I call a fixture.
This should have a hole in the middle to let the bottom of the mold push the leather through.
Be sure to leave some gaps for the thickness of the leather.
In addition to this, make sure that the holes are in the same position as the mold base, this part is very simple.
This is where you put all the preparations together.
I chose the laser mold because it is faster and I like to use the laser cutter.
I cut out four copies of my phone profile, connected them with some VHB adhesive, and then attached it to the base of the acrylic resin.
Then I cut the part of the clip.
Finally, I cut out the shell part that I will use as a leather template.
Now that you already have a wet mold, it\'s time to use it.
I recommend some thin leather.
Wet leather, stretch on the base of the mold by hand.
Once you stretch it to the mold, mark the hole on the leather, punch the hole, and then relay the leather to the mold.
Press the clip on the wet leather and tie the base to the clip to dry it.
Using the template, transfer the pattern to the leather using a pencil or stainless steel stylus.
Once you cut the first block, flip the template and repeat the process so you can clip the two together.
At this stage, you should use leather tools if you want to personalize your case.
Put together two sandwiches of leather and glue.
Weigh and allow the adhesive to solidify.
While drying, cut your now dry wet molded leather into four corners.
Once you put these holes in it, prepare to connect to the rest of the box.
Align the phone with the holes of the camera, speakers and any other accessories as a guide to the corner position.
Fix the phone in place, place the corner and start transferring the hole from the corner to the sandwich.
Some phones have either a headphone jack or a front camera, and the microphone may be covered in leather corners.
Now is the best time to make a hole as these start to stitch your case together.
I first sew the four corners on the rest of the box and then continue to stitch the rest of the box.
After completing the stitching, sew two or three holes, then tie a square knot, or burn off the wire and press the molten material into the box with a steel tool like a rivet holder handle.
Don\'t use your hands!
Before stitching, figure out which pattern you will use first.
Since it is the most reliable and reliable method, I use almost only saddle stitching.
The logo of a real craftsman is their attention to detail.
I\'m not that good, but I tried.
Use the rubber ear anth, beeswax, or both to polish the edges around your box.
This will make your case look beautiful.
When the edges are finished, apply any desired dye to your case.
Once these dyes are dry, be sure to apply a protective coating.
I recommend rosorine acrylic or neatsfoot oil if you do not use dye.
Once you \'ve done all the little details, your case is done.
Enjoy your convenient work and the admiration of those who want it too.
Custom message
Related Products